1
Upload your reference
Choose a JPG, PNG or WebP, or try a sample below. Crop away anything you do not want to draw and rotate the reference before choosing the grid. Your photo stays on your device.
A little structure.
A more confident drawing.
or drop a photo onto the previewJPG, PNG, WebP · Up to 25 MB / 24 MP
With 8 columns, draw each full cell 3.00 cm wide. Use these measurements to draw your grid by hand. Your PDF still fits the paper size you choose.
From reference photo to drawing desk in three steps.
Choose a JPG, PNG or WebP, or try a sample below. Crop away anything you do not want to draw and rotate the reference before choosing the grid. Your photo stays on your device.
Try 8 columns with Square cell lock on. A 4:3 photo becomes an 8 × 6 grid. Check that lines remain visible over both highlights and shadows; use edge labels to keep track of each cell.
A4 / US LetterChoose PNG or JPG for a screen reference, or PDF for A4 or US Letter. Lightly rule the same grid on your drawing paper. Match each cell’s proportions, even if you make the whole drawing larger.
A drawing grid maker is an online tool that places evenly spaced lines over a reference image, helping artists copy proportions accurately using the grid method.
Instead of tackling the whole picture at once, you work with smaller, manageable shapes. Notice where a contour crosses a grid line, compare the space around it, then transfer that observation to the matching square on your paper.
A grid helps you place shapes, but it cannot correct distortion already present in a reference photo. If a face looks stretched near the edge of a wide angle photo, the grid will carry that distortion into your drawing. Choose the reference as carefully as the grid.
A custom grid maker should fit your reference, not force your reference into a square.
Adjust your grid ↗More squares are not always better. Start simple, then add reference points where you need them.
A useful starting point for simple compositions, broad outlines and quick sketches.
A good choice for portraits and still life studies with a little more structure.
More reference points for intricate features, small objects and detailed grid art.
These examples assume a square image. On a rectangular photo, equal rows and columns create rectangular cells. Use Square cell lock for equal squares for drawing, or crop your reference to a square for an exact 4 × 4, 8 × 8 or 10 × 10 grid. Grid count, cell shape and printed size are separate choices.
Take a 1200 × 900 px reference photo. Eight columns divide its width into 150 px cells. What happens vertically depends on whether you lock the cells or set the row count yourself.
| Your choice | Grid layout | Cell size | What changes |
|---|---|---|---|
| 8 columns, square lock on | 8 × 6 | 150 × 150 px | The whole photo stays visible. |
| 8 columns and 8 rows, lock off | 8 × 8 | 150 × 112.5 px | The cells are rectangular. The photo is not stretched. |
| Square crop, then 8 columns | 8 × 8 | 112.5 × 112.5 px | A centered 900 × 900 px crop removes 150 px from each side. |
A photo does not always divide into whole square rows. For example, a 1200 × 800 px photo at 8 columns has five full 150 px rows and a final 50 px strip. Keep that partial row on your drawing too, or crop the photo to 1200 × 750 px for an exact 8 × 5 grid. Do not stretch the final strip into a full square.
Start with fewer columns if you are deciding the overall composition. Add more only when a feature is hard to place within its cell. Changing the grid halfway through a drawing means redrawing the guides on your paper, so settle on the crop and grid before you begin.
Choose one of these AI generated references to practice with an 8 column square grid. Turn off Show grid to see the image without lines.
Compare where each eye sits within its cell, then check the line between them across the whole face. Do not assume they sit at the same height.
At 8 columns, this portrait has 10 full square rows and a final row two thirds as tall. Copy that partial row if you keep the full portrait.
Start at the highest mountain peak. Mark where each slope crosses the next grid line, then connect those points. Add the lake edge after the larger shapes are placed.
This 4:3 reference gives an exact 8 × 6 square grid. Compare the path’s width near the bottom with its width farther into the scene.
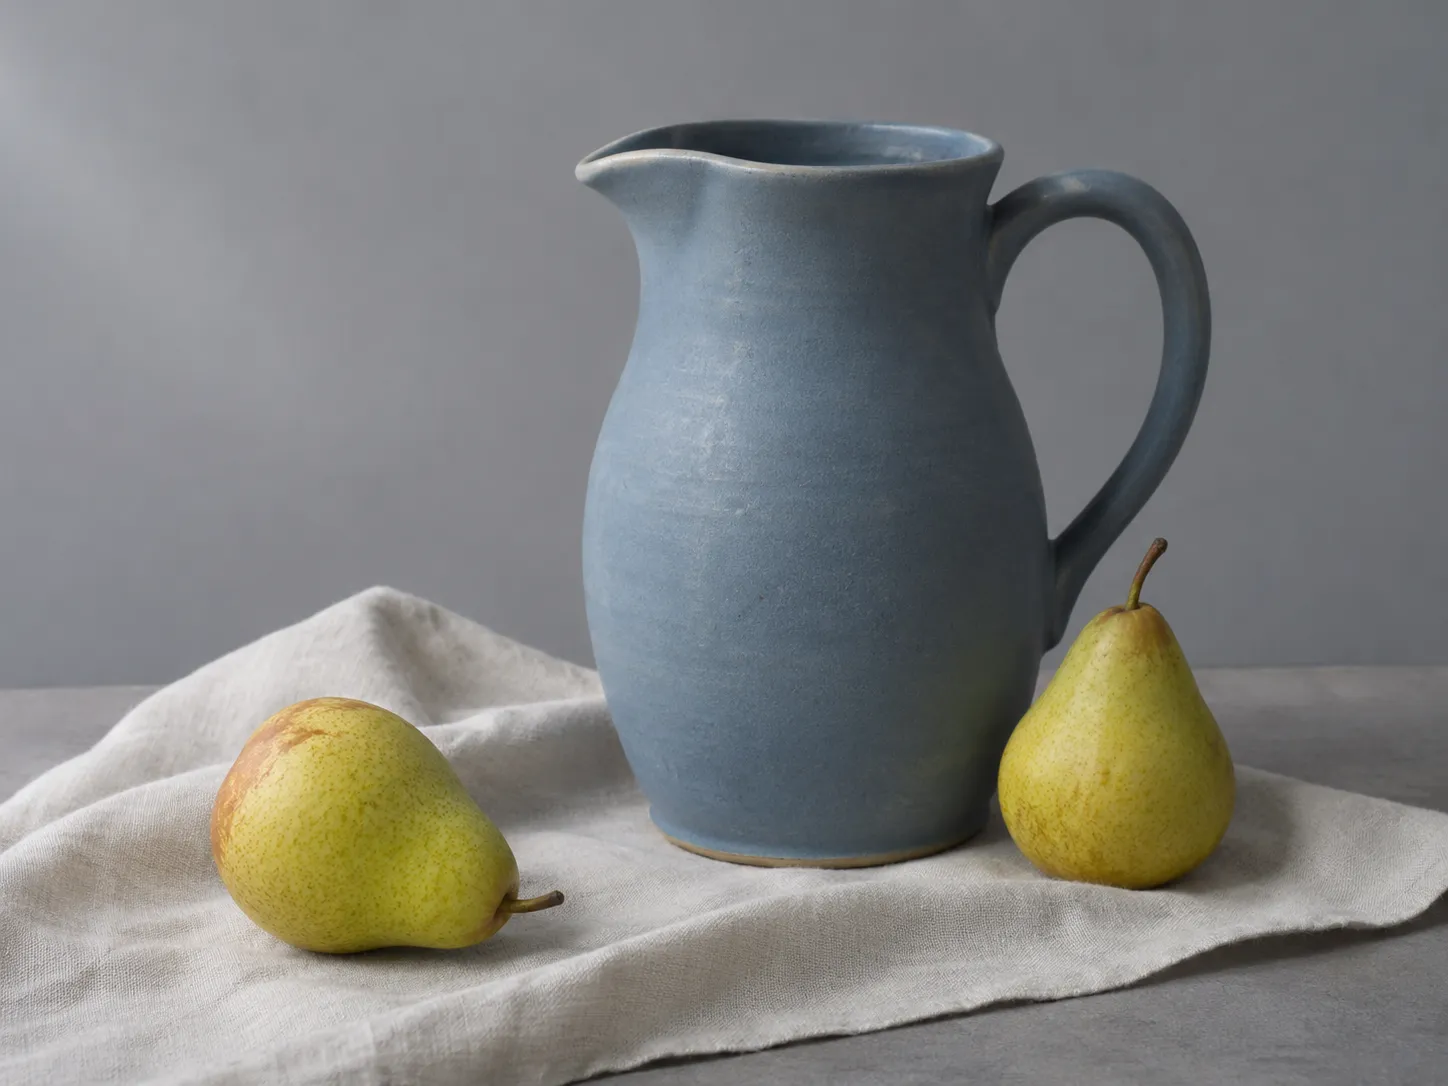
Outline the empty space inside the pitcher handle first. Compare its width with the surrounding cells, then draw the handle around it. This helps avoid making the handle too thick.
Use the 8 × 6 grid to place the pears relative to the pitcher. Block in the large shadow shapes before working on small highlights.
Choose one cell where the outline crosses a grid line. If it enters halfway along the top edge and leaves one quarter of the way down the right edge, mark those same fractions on your paper. Connect the points with the observed curve, rather than drawing what you assume the object should look like.
Compare the empty space around the curve as well as the curve itself. Block in the main outline across neighboring cells before shading any one square. Draw your paper grid lightly and check that your pencil will erase cleanly on a spare piece of the same paper.
1.5 cm → 3 cm per cell
8 columns × 1.5 cm = 12 cm reference
8 columns × 3 cm = 24 cm drawing
6 rows × 3 cm = 18 cm drawing height
For an 8 × 6 grid, a 12 × 9 cm reference becomes a 24 × 18 cm drawing. The width and height both double; the grid count stays the same.
Cell width = drawing width ÷ number of columns. For a 20 cm drawing with 8 square columns, each cell is 2.5 cm and 6 rows make the drawing 15 cm tall.
Choose how you want to use your reference. Every download includes your photo, grid lines and any labels you have turned on.
| Format | Use it for | What to expect |
|---|---|---|
| PNG | A sharp digital reference | Keeps fine lines clear without adding compression blur. Transparent areas stay transparent. |
| JPG | Sharing a photo reference | A widely supported photo format for sharing. Fine lines may look slightly softer, and transparent areas become white. |
| A reference sheet for your desk | Your gridded photo on an A4 or US Letter sheet with 10 mm margins. The page turns to fit your photo. This is a reference to print, not a blank sheet of drawing squares. |
Check these before adding more squares or starting over.
A few things to know before you start.
The grid method divides a reference picture and your drawing surface into matching cells. Copy the shapes in one cell at a time, using the intersections to judge position and proportion. Erase your pencil grid once the main shapes are in place.
Choose a JPG, PNG or WebP photo, or drop it onto the preview. Pick the number of columns, adjust the lines and labels, then download your gridded photo. Your photo stays on your device.
Start with 4 to 6 columns for simple shapes or a loose sketch. Try 8 to 10 for portraits and more detailed studies. Use 12 when small features need more reference points. Too many squares can make it harder to see the overall drawing.
Turn on Square cell lock. Cell height will match cell width, and the row count follows the image proportions. An 8 column grid on a 4:3 image has 6 rows. Other ratios may leave a partial row at the bottom. Crop the image for whole cells, or turn off the lock to choose independent rows and columns.
Yes. Select Printable PDF and choose A4 or US Letter. The gridded image is centered within 10 mm margins, with the page orientation matched to the image. Print at 100% or Actual size to preserve the PDF layout. You can also print your downloaded PNG or JPG.
Keep the same number of rows and columns on the reference and drawing. If the reference has 8 columns with cells 1.5 cm wide, its width is 12 cm. Drawing those cells 3 cm wide makes a 24 cm drawing: twice as wide and twice as tall. Keep the cell proportions the same.